This week, I took an antique headboard and footboard and repurposed it into a settee. After cleaning it, I took the footboard and cut it into two pieces, 18” deep. After doing that, I placed the two pieces next to the headboard perpendicularly. I measured the appropriate place to attach the pieces to the headboard.
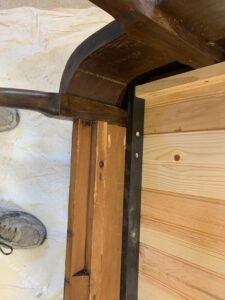
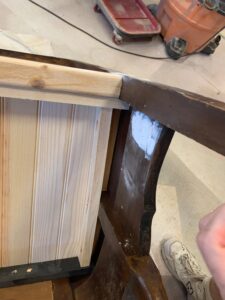
After getting the right placement, I drilled pocket hole screws into the footboard pieces so they could be screwed in place on the sides of the headboard. Larry held the headboard and footboard pieces in place while I screwed them on.
After attaching the footboard pieces, I measured the front of the piece, between the footboard pieces to prepare for placing a board across the front, completing the main assembly. I used a sideboard piece from another bed set for the cross member. After cutting the piece to the right measurement, I drilled pocket hole screws into the ends of the board so that it could be attached securely to the footboard pieces.
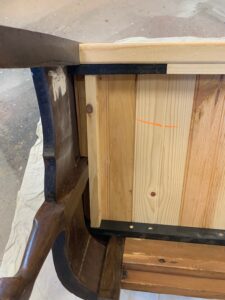
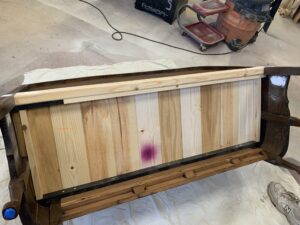
Once that was set up, I began to prepare for rails surrounding the inside of the bed for the purpose of attaching tongue and groove boards on top of them for the seat of the settee. I had to make sure they were at the correct height from the floor, and to accept the seat boards and still be flush with the front board of the settee.
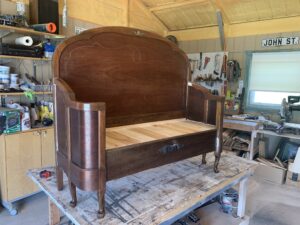
After cutting the length of the boards to fit into the seat rails and cutting the end boards to fit closely the shape of the footboard pieces, I nailed them into place.
At that point, I needed to review the piece for filling holes, caulking around seams etc. in preparation for paint.
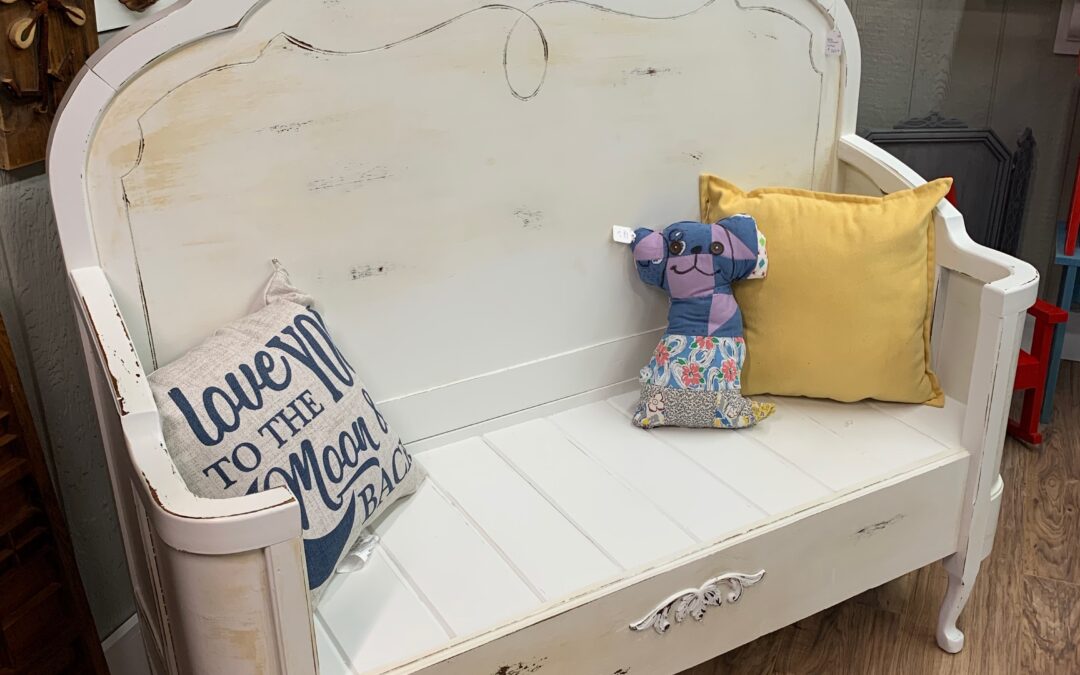
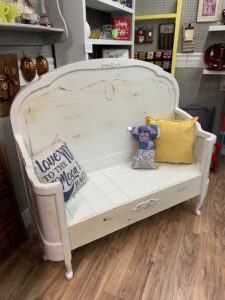
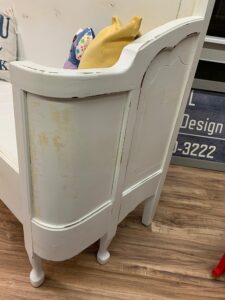
As I began to spray the paint on the piece it was clear that the wood was going to bleed through the paint. I decided to leave the bleed to have a natural patina to the piece. After the paint was dry, I sanded it to distress portions of the wood shapes. Once that sanding was done, I sprayed the entire piece with water-based polyurethane.

Recent Comments